
Print Shop was one of the most popular software programs of the 1980s. Among other things, it could print long banners with a dot-matrix printer. These banners were 8 ½ inches wide, and were too big for many purposes. This project prints three-inch wide banners using a credit card receipt printer and continuous roll paper. It can print one or two lines using any TrueType font.
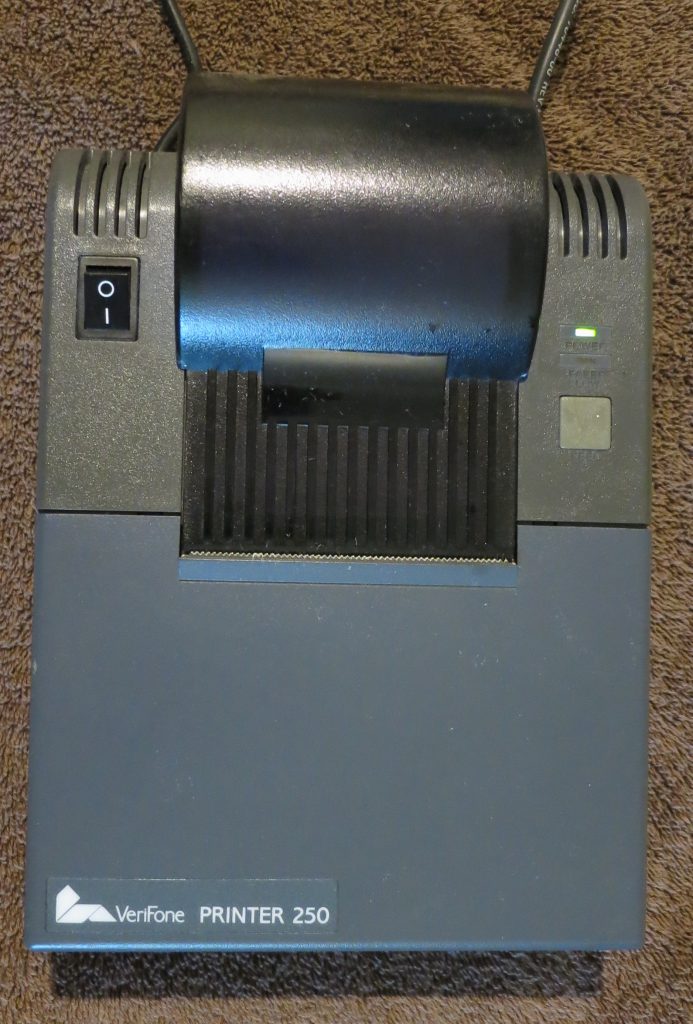
The Verifone 250 is an old-fashioned dot-matrix receipt printer, used with a lot of credit card terminals. They are currently available cheaply on eBay, because the chip-card transition has forced the replacement of older credit card terminals. The printer uses three-inch roll paper. Ribbons are readily available on eBay as well.
Dot-matrix printers use a set of metal pins, driven by electromagnets, to strike a cloth ribbon and print dots on the paper. Most dot-matrix printers had nine pins in a vertical row on a print head that moved across the full width of the paper, printing a line of text in one pass.
The Verifone 250 is somewhat different in that it uses seven pins staggered across the width of the paper on a vibrating carriage. The carriage moves rapidly back and forth, printing one horizontal line of dots at a time, and then the paper moves forward one small step. It prints odd dots in one direction and even dots in the other, for a total of 420 dots across the three-inch paper width.
The horizontal resolution is 160 dots per inch, while the vertical resolution is only about 60 dots per inch. There are escape codes to print bitmapped graphics. The odd/even principle, and the large difference between horizontal and vertical resolution, have to be handled in software.
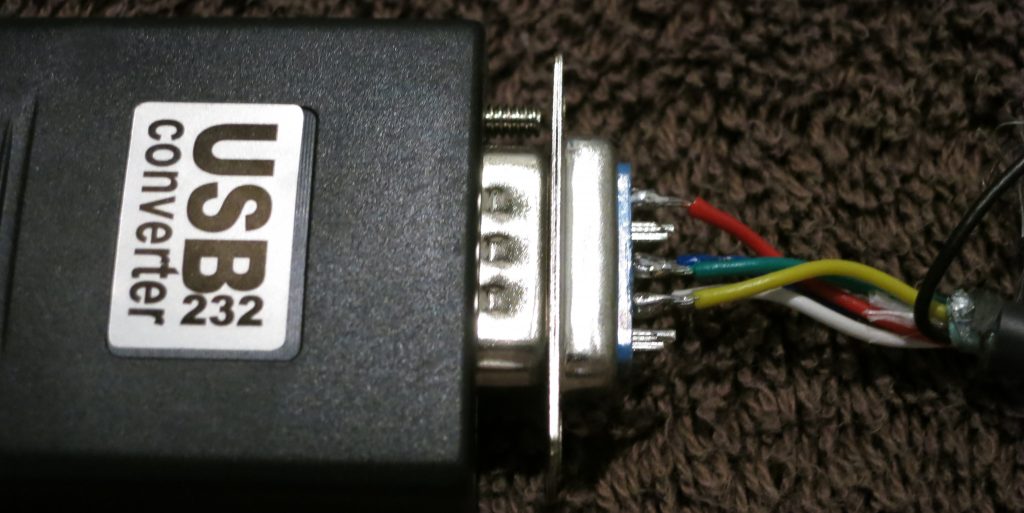
The printer uses RS-232 serial protocol with a proprietary cable. Make sure you get the external power supply and the proprietary serial cable along with the printer. The cable is intended to plug into a credit card terminal using a round connector. We will modify the cable to use a DB-9 female RS-232 connector. You will need a serial-to-USB adapter to connect the printer to most modern computers.
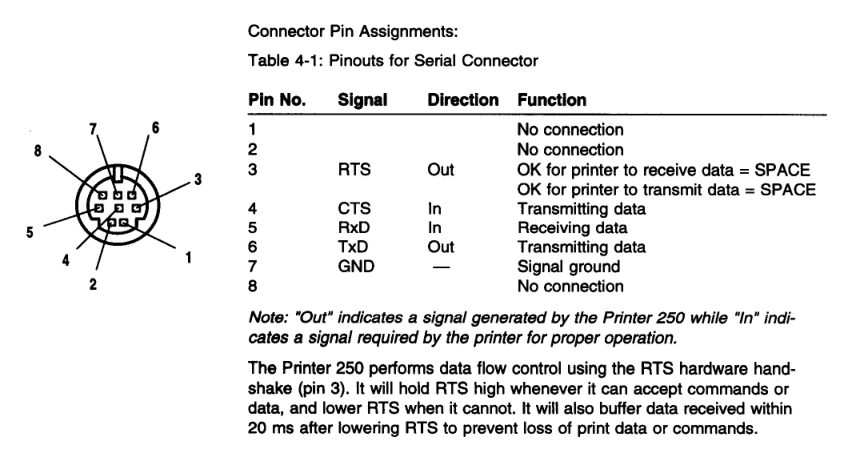
The serial port uses RTS-CTS hardware flow control at up to 9600 baud. There is a complication in that, unlike credit card machines, most PC serial ports have a hardware buffer. When the printer’s tiny buffer is full, it signals “STOP” to the PC. The PC serial port empties its buffer before it stops sending, and those extra characters get lost. This took a while to figure out. The software driver must send one character at a time, with pauses to keep the transmit speed slightly below the baud rate. That keeps the hardware buffer empty and prevents this problem.
I am using the ImageMagick software toolkit to generate bitmaps from text input and distort them to the printer’s aspect ratio. ImageMagick can use any TrueType font, which you can find in C:\Windows\Fonts on a Windows machine. The output from the ImageMagick commands is a one-bit uncompressed BMP file, which must have 420 pixels horizontally by any length.
My verbanner.c program, intended to run under Linux, converts the BMP file to the six-bit, alternating odd/even format expected by the printer, and sends it with the required hardware flow control and speed limits to print the banner.
I have some internal hardware documentation on the Verifone 250. It does not have a thermistor to shut it down if the print head overheats. This printer was designed to print a few lines of text at a time. If you print too much high-density graphics without a pause, you might burn out the coils. I do not know what the safe limit is, and do not have an infrared thermometer. I have printed some banners up to a meter long, and the printer was not overly hot, but you should be aware of this. If someone wants to measure the temperature rise over time, I will add cool-down pauses to the software.
When you get your printer, you can quickly test it by turning it off, holding down the paper feed button, and turning it on. It should print out a test pattern. The next step is to wire your cable. I just cut the credit card machine end off, stripped the wires, and soldered them to a DB-9 female connector. Here’s the pinout of the printer’s serial port:
Here is the wiring to a PC serial port. I used the continuity beep mode on a meter to identify the wires. Your cable may have different wire colors than mine, so please check.
PRINTER   | PC DB9      MY WIRE [ DO NOT RELY     ]
 PORT     | FEMALE      COLOR   [ ON THESE COLORS ]
----------+-----------+-------
RTS PIN 3 | CTS PIN 8 | BLUE
CTS PIN 4 | RTS PIN 7 | WHITE
RXD PIN 5 | TXD PIN 3 | GREEN
TXD PIN 6 | RXD PIN 2 | YELLOW
GND PIN 7 | GND PIN 5 | RED
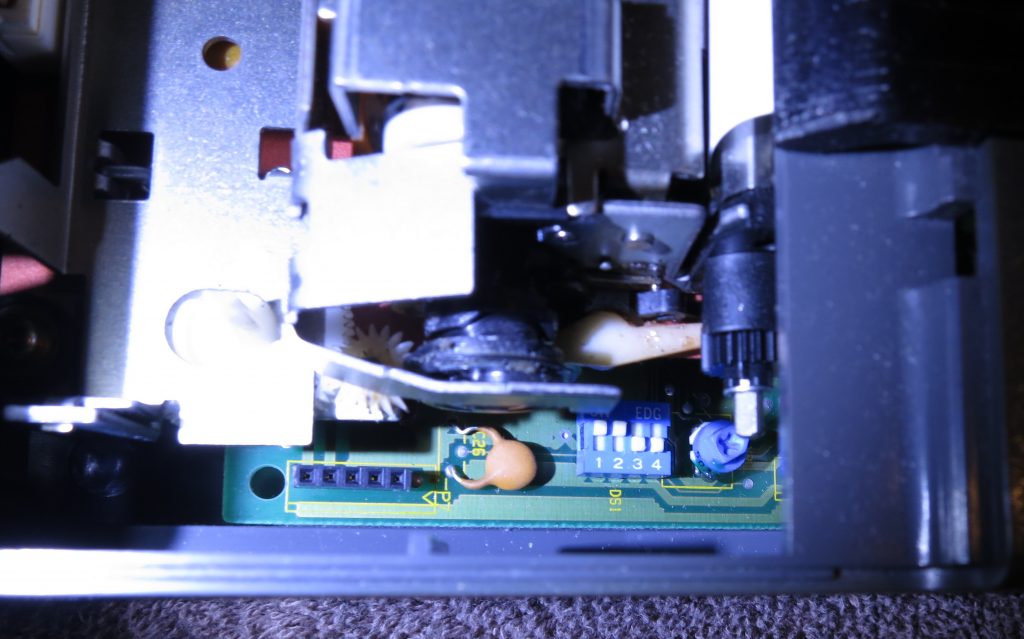
The printer has four DIP switches you need to set. They are on the right side of the mechanism. Remove the cover and ribbon. The settings shown (on, on, off, off) are for 9600 baud, 8 bit, no parity. These are the right settings for this project. There is a table of switch settings in the manual on page 7.
These examples were run on Ubuntu 16.04. Plug in the serial-to-USB interface and the printer. Set up your machine:
sudo apt-get install imagemagick
wget https://www.confidantmail.org/download/verbanner.c
gcc -O -o verbanner verbanner.c
sudo chmod 777 /dev/ttyUSB0
You also need a TrueType font. In this case I am using arial.ttf from a Windows machine. Place that in the current directory.
Here are the commands for an example single-line banner:
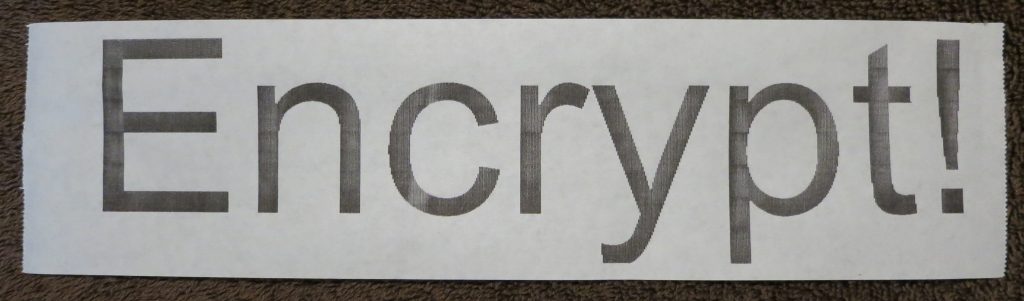
convert -size x1500 -font arial.ttf -pointsize 200 +antialias -gravity center "label:Encrypt!" -rotate 90 -depth 1 out1.png
convert -depth 1 -crop 1240x+20 out1.png out2.png
convert -depth 1 -resize x37.5%%! -resize 420x out2.png out3.png
convert -compress none -flip out3.png out.bmp
The BMP file looks like this on the screen:

To print it:
./verbanner -b 9600 -o /dev/ttyUSB0 out.bmp
The printed banner:
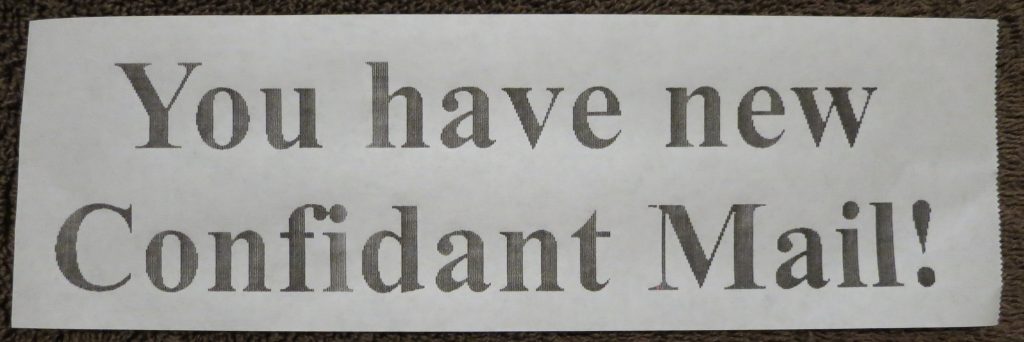
Here are the commands for the two-line banner at the top of the article:
convert -size x1080 -font timesbd.ttf -pointsize 200 +antialias -gravity center "label:You have new\nConfidant Mail!" -rotate 90 -depth 1 out1.png
convert -depth 1 -crop 1040x+20 out1.png out2.png
convert -depth 1 -resize x37.5%%! -resize 420x out2.png out3.png
convert -compress none -flip out3.png out.bmp
./verbanner -b 9600 -o /dev/ttyUSB0 out.bmp
You could print graphics as well as text. Render the graphics as one-bit pure black and white, and use the resize and flip commands to scale them to match the printer’s aspect ratio. The Verifone 250 can also print in red. The verbanner.c program would have to be altered to support this.